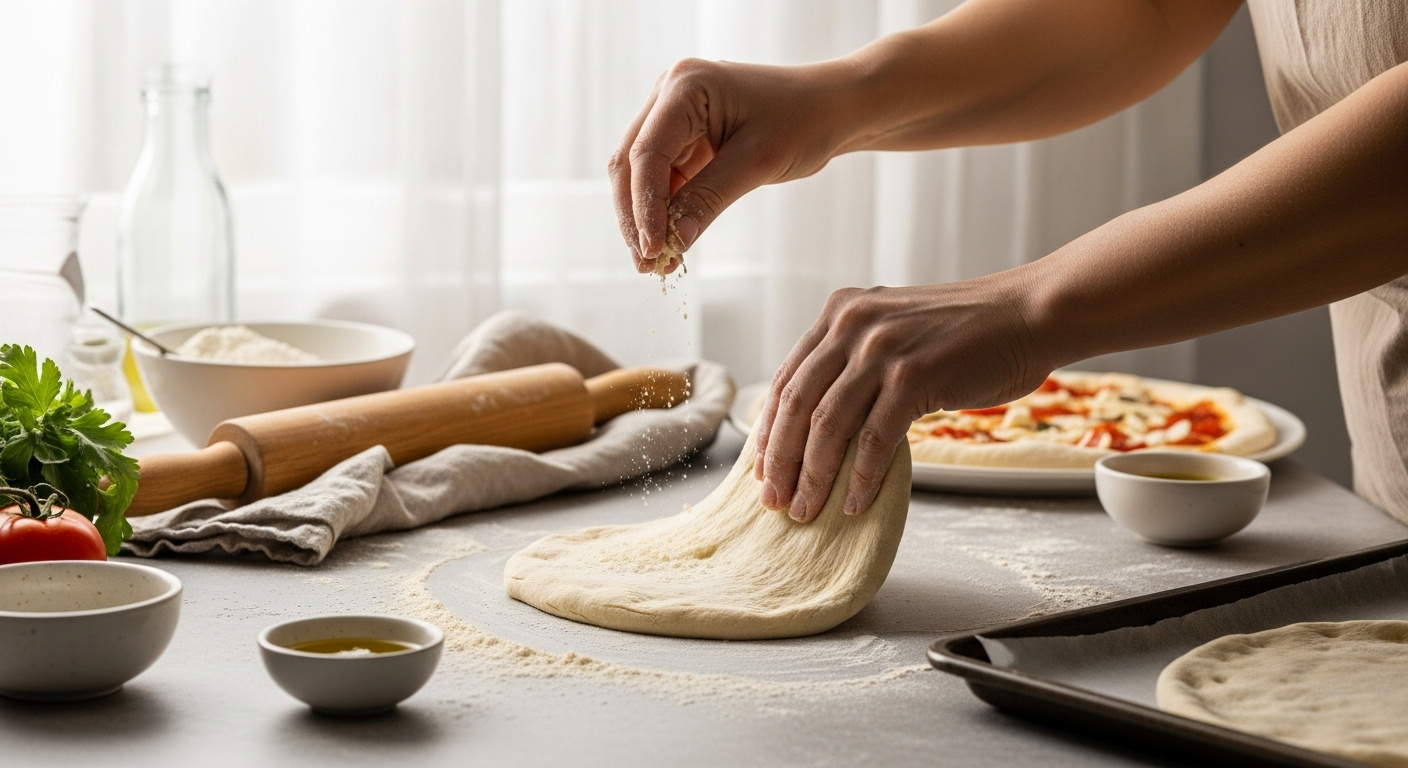
From Flour to Pizza Night in Half an Hour
Skip the delivery wait and frozen pizza disappointment—tonight, you’re making fresh, homemade pizza dough in 30 minutes flat. No, this isn’t clickbait. Yes, it actually works. And no, you don’t need any special equipment, years of baking experience, or the patience to wait for the dough to rise overnight.
Here’s what we’re about to do: take basic pantry ingredients that you probably already have and transform them into legitimate pizza dough that stretches, bakes, and tastes like the real deal. Not “good for homemade” pizza dough. Not “okay, considering how fast it was” pizza dough. We’re talking about soft, stretchy, delicious pizza dough that will make you wonder why you ever ordered out on a weeknight.
By the end of this tutorial, you’ll have mastered a foolproof method for making pizza dough that’s ready when you are. You’ll have enough perfectly workable dough for two medium pizzas or four personal-sized ones. You’ll know exactly what the dough should look and feel like at every stage. And most importantly, you’ll have the confidence to whip up pizza dough anytime the craving strikes, without planning or crossing your fingers.
The timing breakdown couldn’t be simpler: 5 minutes to mix your ingredients, 5 minutes of easy kneading (think of it as stress relief, not a workout), and 20 minutes of hands-off resting time while you prep your toppings. That’s it. Half an hour from “I want pizza” to “ready to top and bake.”
If you can measure flour and stir ingredients together, you can make this dough. This recipe is specifically designed to be forgiving—small measuring errors won’t doom your dinner, over-kneading is nearly impossible to do by hand, and even if your yeast is a little old, we’ve got workarounds. There’s no mysterious “proofing” step where you wonder if those bubbles mean success or failure. No overnight rise that requires you to plan your pizza cravings 24 hours in advance. Just mix, knead, rest, and pizza.
The dough you’re about to make will be smooth and elastic, stretching without tearing when you shape it. It won’t fight back when you roll it out, and it won’t shrink dramatically in the oven. It’s the kind of dough that makes you feel like maybe you actually know what you’re doing in the kitchen.
Everything You Need for Pizza Dough Success
Your Shopping List: Pantry Basics Only
Let’s talk ingredients—and here’s the beautiful part: you probably have everything already—no specialty flour, no exotic ingredients, no trip to that fancy baking store across town.
The Dry Team: Start with 3 cups of all-purpose flour, plus a little extra for dusting your work surface. Regular, everyday, nothing-special all-purpose flour. Not bread flour, not 00 Italian flour, just the basic stuff in your pantry. When measuring, resist the urge to scoop directly from the bag—that packs the flour and throws off your ratios. Instead, spoon the flour into your measuring cup and level it off with a knife. It takes an extra 30 seconds but makes a real difference.
You’ll need one packet of instant yeast, which equals 2¼ teaspoons if you’re buying in bulk. And yes, it must be instant yeast, not active dry. Instant yeast is the superhero of the yeast world—it works faster and doesn’t need to be dissolved first. Store any leftover yeast in the fridge to keep it fresh and active.
Add 1 teaspoon of regular table salt (nothing fancy required) and 1 teaspoon of sugar. The sugar isn’t for sweetness—it feeds the yeast to get things moving quickly. Think of it as yeast fuel for our time-crunch situation.
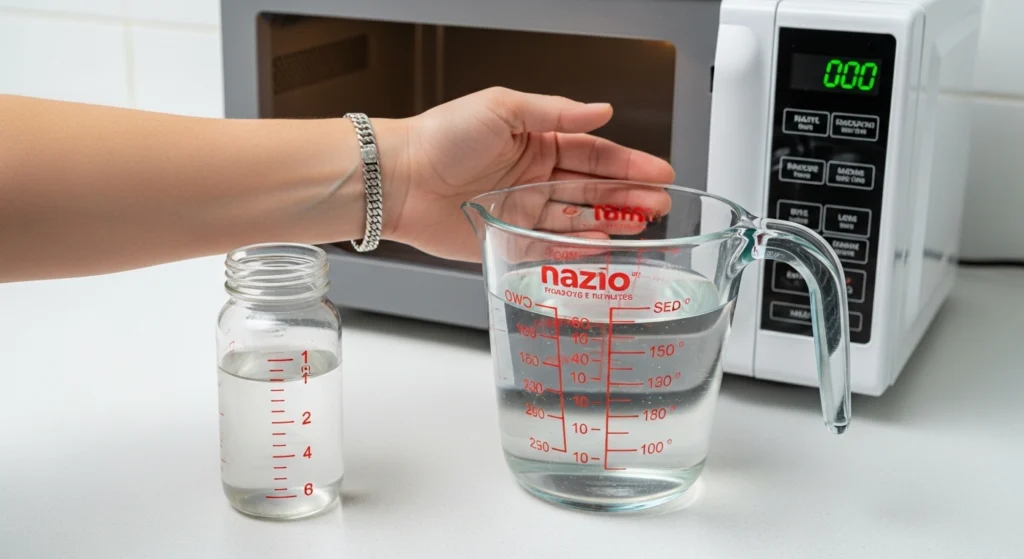
The Wet Team: One cup of warm water is your main liquid. Temperature matters here, but don’t stress about it. The water should feel like a comfortable bath—warm enough to be pleasant on your wrist, not hot enough to make you pull your hand away. Too hot and you’ll murder your yeast. Too cold, and the yeast won’t wake up in time for our 30-minute timeline.
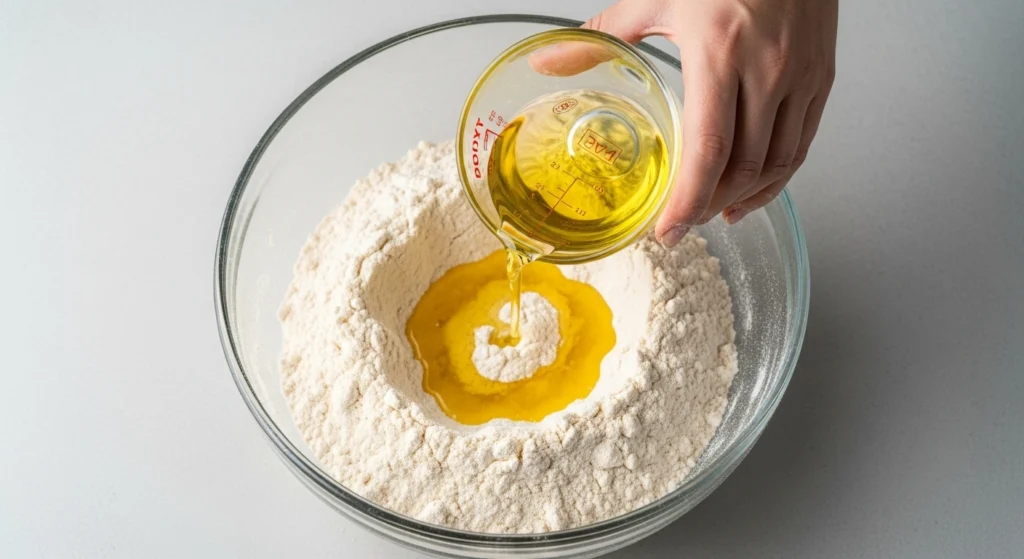
Two tablespoons of olive oil make the dough easier to handle and add a subtle flavor. If you’re out of olive oil, any cooking oil works—vegetable, canola, or even melted butter if you’re feeling rebellious.
Essential Tools: Basic Kitchen Equipment Only
Must-Have Tools: You need a large mixing bowl—glass, plastic, metal, whatever you’ve got. Just make sure it’s big enough to hold the dough as you mix without flour flying everywhere.
Measuring cups and spoons are non-negotiable for beginners. Baking is more forgiving than people think, but you need to be in the ballpark with your measurements.
A clean kitchen towel for covering the dough during its rest. Damp is better than dry, but either works.
Your hands. Seriously, they’re the best kneading tools you own. —No fancy equipment required.
Nice-to-Have Tools: A kitchen scale makes measuring more accurate, but it’s absolutely not required. A bench scraper makes handling dough easier, but a knife works just as well. A stand mixer with a dough hook saves your arms, but hand-kneading is actually satisfying and gives you a better feel for the dough.
Smart Substitutions That Work
Life happens, and sometimes you’re missing an ingredient. Here’s what actually works as substitutions without ruining your dough:
If you only have active dry yeast instead of instant yeast, dissolve it in warm water with a pinch of sugar first. Wait 5 minutes for it to foam before proceeding—this proves it’s alive and adds 5 minutes to your timeline.
Bread flour can replace all-purpose flour, but use only 2¾ cups since it absorbs more liquid. The dough might be slightly chewier, which some people actually prefer.
Any neutral cooking oil can replace olive oil. The flavor might be slightly different, but the dough will work the same.
Honey can replace sugar—use just ½ teaspoon since it’s sweeter and more concentrated.
Your 30-Minute Pizza Dough Method
Phase 1: Mixing the Dough (5 minutes)
Step 1: Prepare Your Water (1 minute) Measure exactly 1 cup of water in a microwave-safe measuring cup. Microwave for 30-45 seconds—you’re aiming for comfortably warm, not steaming hot. Test the temperature on your wrist like you’re checking a baby’s bottle. If it feels too hot, let it cool for 2 minutes. If it’s not warm enough, give it another 10 seconds in the microwave. This temperature sweet spot is crucial for quick yeast activation without killing it.
Step 2: Combine Dry Ingredients (1 minute) In your large bowl, whisk together the 3 cups of flour, the packet of instant yeast, 1 teaspoon of salt, and 1 teaspoon of sugar. Mix them well—you want the yeast evenly distributed throughout the flour, not clumped in one spot. This even distribution is what gives you consistent dough texture.

Step 3: Add Wet Ingredients (1 minute) Make a well in the center of your flour mixture—basically push the flour to the sides to create a crater in the middle. Pour your warm water and olive oil into this well. Don’t dump it all at once; a steady pour gives you more control and prevents flour volcanoes on your counter.
Step 4: Initial Mixing (2 minutes) Using a wooden spoon or your hands (hands work better, honestly), start stirring from the center outward, gradually incorporating the flour into the liquid. Keep mixing until no dry flour remains visible. At this point, your dough will look shaggy, rough, and frankly unimpressive. It might seem too dry in some spots and too wet in others. This is completely normal. It’s supposed to look like a mess right now. The magic happens in the kneading.
Phase 2: Kneading—Building the Gluten (5 minutes)
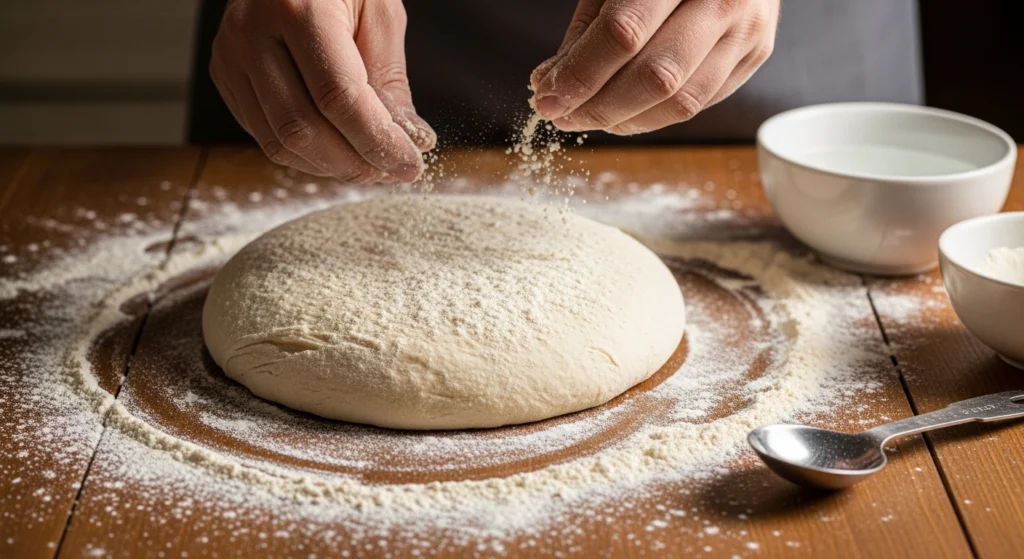
Step 5: Turn onto Floured Surface (30 seconds). Sprinkle your clean counter generously with flour. Turn out your shaggy dough onto this floured surface. Yes, it will be sticky. Yes, it will seem unwieldy. Flour your hands generously—think surgeon-preparing-for-surgery levels of coverage.
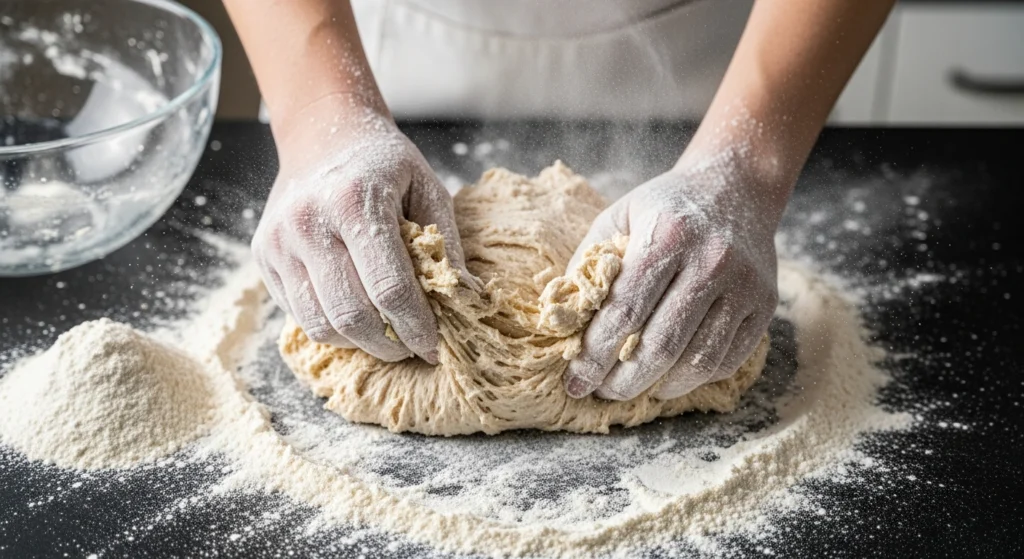
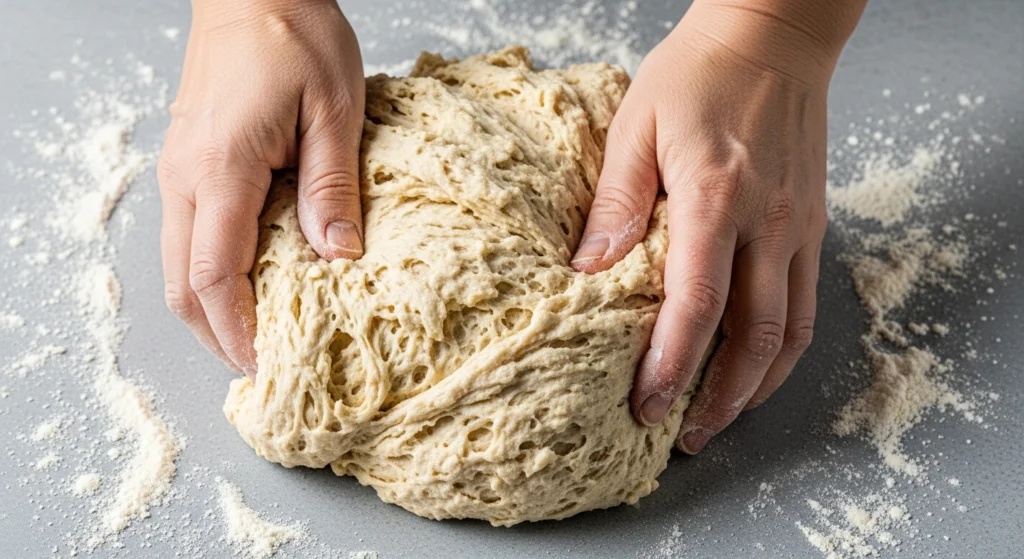
Step 6: Basic Kneading Technique (4 minutes) Here’s where the transformation begins. Push the dough away from you with the heel of your hand, using your body weight more than arm strength. Fold the far edge back over toward you, like you’re folding a letter. Give the dough a quarter turn clockwise. Repeat: push, fold, turn. Push, fold, turn.
Find a rhythm. This isn’t a race. Think of it as meditation with dough. If the dough sticks to your hands or the counter, sprinkle a little more flour, but don’t go crazy—too much flour makes the dough tough. You’ll feel the dough change under your hands, becoming smoother and more cooperative with each push-fold-turn cycle.
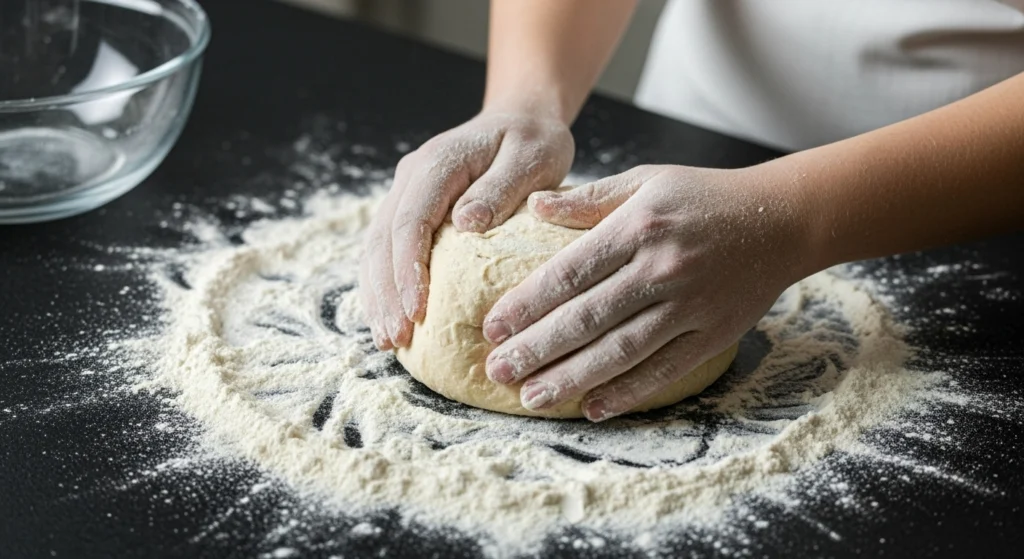
After about 2 minutes, you’ll notice the dough stops sticking as much. After 3 minutes, it starts to feel smooth. By minute 4, you’ve got something that actually resembles pizza dough.
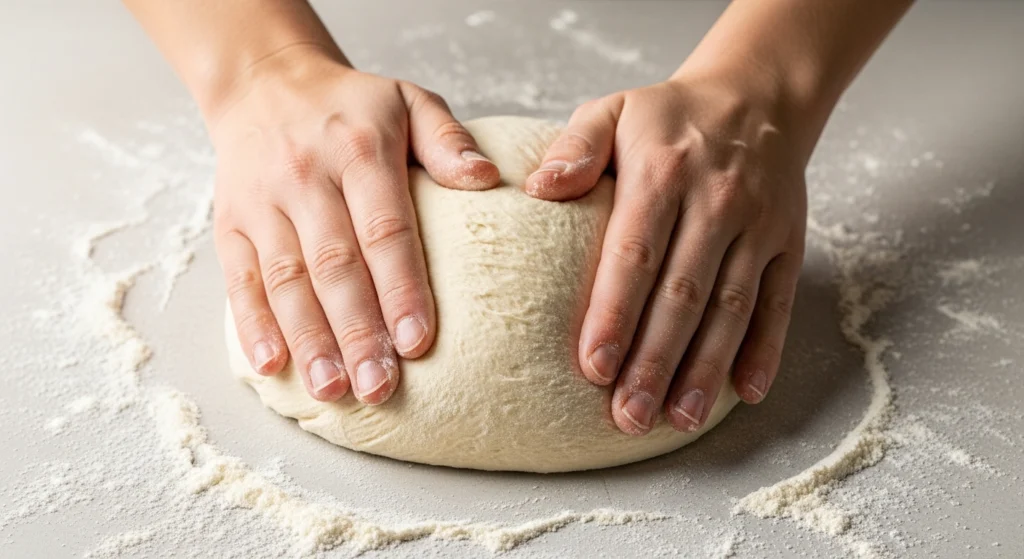
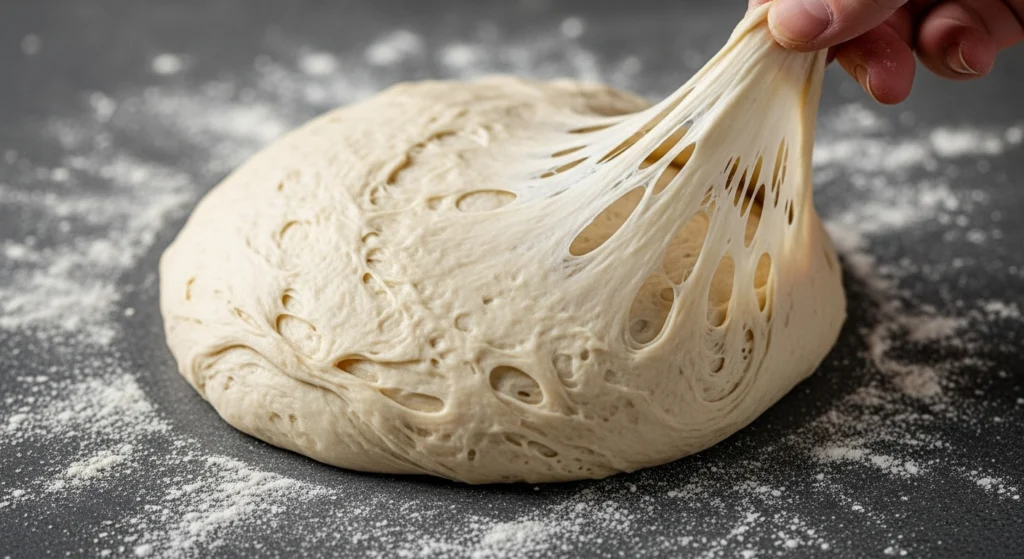
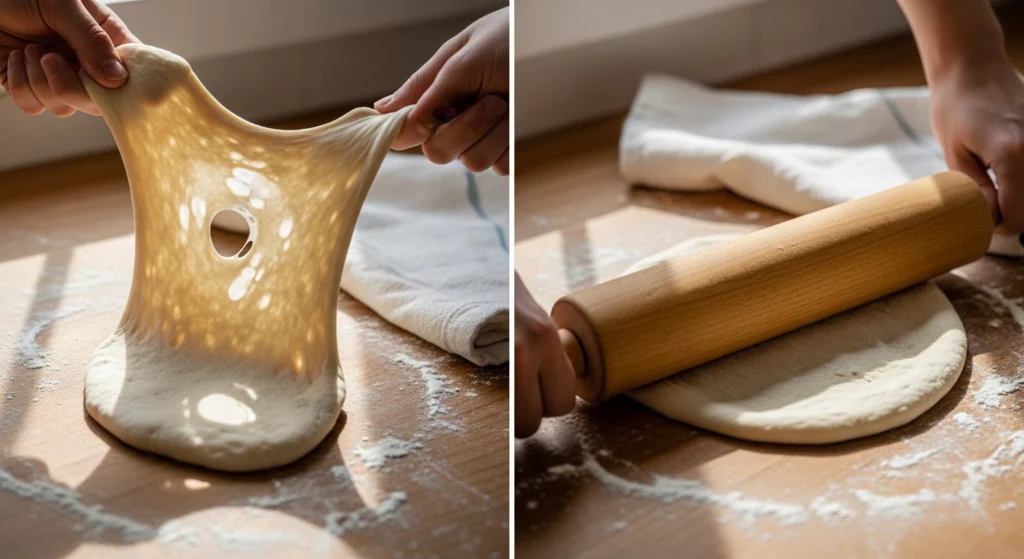
Step 7: Test for Doneness (30 seconds) Your dough is ready when it passes these three tests: First, the surface should look smooth, not shaggy or lumpy. Second, when you gently poke it with your finger, it should slowly spring back, leaving only a slight indentation. Third, if you take a small piece and stretch it gently, it should stretch thin without immediately tearing (some tearing is okay; you’re not going for windowpane perfection here).
Phase 3: The Rest Period—Let the Magic Happen (20 minutes)
Step 8: Shape and Cover (1 minute) Form your kneaded dough into a smooth ball by tucking the edges underneath. Place it in a bowl that’s been lightly oiled (use the same oil from the recipe). Cover with a damp kitchen towel—damp prevents the surface from drying out. Room temperature is perfect; don’t put it somewhere special.
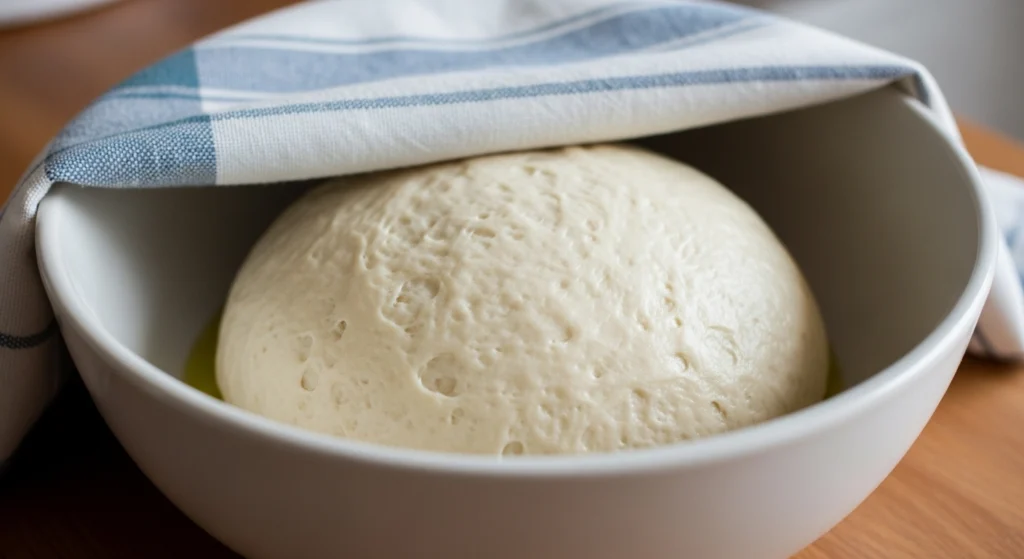
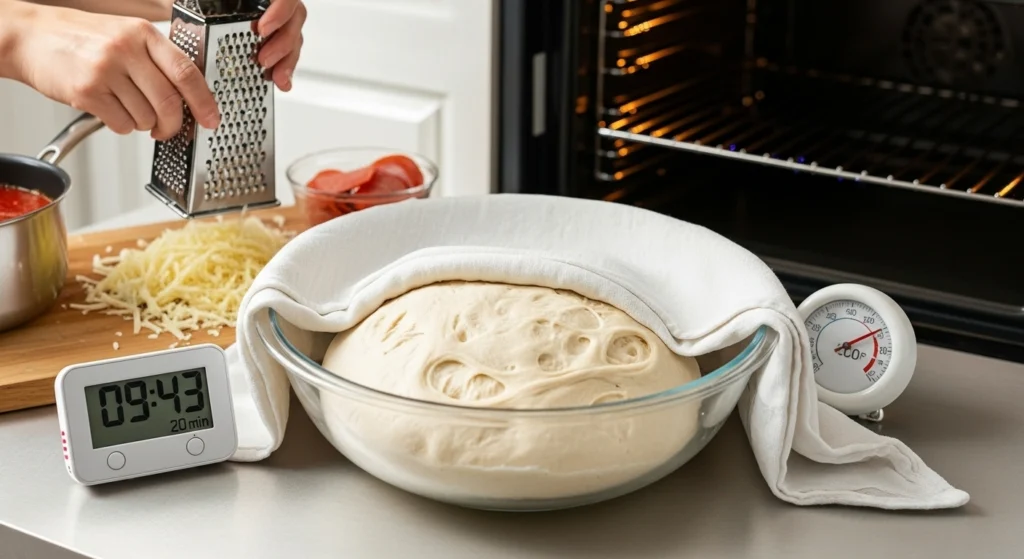
Step 9: The Wait (20 minutes) This is when the gluten relaxes and flavors develop. Use this time productively: prep your pizza toppings, grate cheese, make sauce if you’re making it at home, and preheat your oven to 450°F. Resist the urge to peek every 5 minutes. The dough is doing its thing.
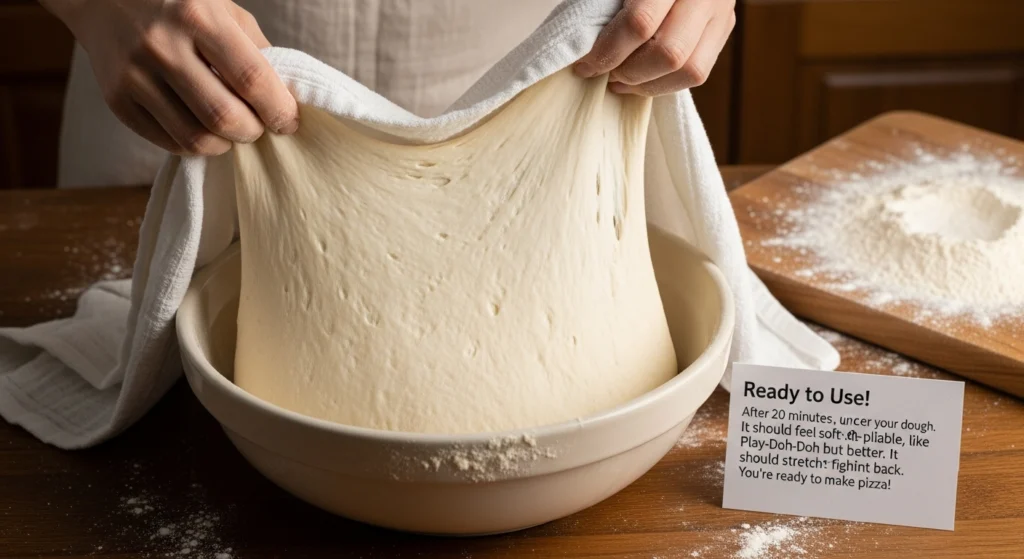
Step 10: Ready to Use! After 20 minutes, uncover your dough. It should feel soft and pliable, like Play-Doh but better. It should stretch without fighting back. You’re ready to make pizza!
When Things Don’t Go as Planned: Your Troubleshooting Guide
Mixing Problems and Solutions
“My dough is too sticky to handle!” This is the most common beginner issue. You’ve either added too much water or measured your flour too lightly. The fix is simple: add flour 1 tablespoon at a time while kneading, working each addition in completely before adding more. If you’ve added more than ½ cup extra flour and it’s still unmanageably sticky, your flour might be old and have absorbed moisture from the air.
—Seriously, “My dough feels dry and crumbly!” You’ve got too much flour or not enough liquid. Add water 1 teaspoon at a time—seriously, just a teaspoon. Sprinkle it over the dough and knead it to incorporate. It’s shocking how much difference a tiny amount of water makes. Next time, make sure you’re not packing your flour when measuring.
Kneading Troubles
“The dough tears when I try to stretch it!” Your gluten hasn’t developed enough yet. Knead for another 2-3 minutes. Some flours, especially older ones, take longer to develop gluten. Be patient. The dough should eventually stretch thin enough that you can almost see through it without tearing.
—The dough keeps springing back when I try to roll it! “The gluten is too tight and needs more time to relax. Let it rest another 10 minutes under the towel. This is actually a good sign—it means you’ve developed good gluten structure. If you’re in a real hurry, you can fight through it, but letting it rest makes your life much easier.
Texture Issues
—”My dough doesn’t seem to change no matter how much I knead! “Your yeast might be dead. Test it by mixing a pinch with warm water and sugar in a small bowl. If it doesn’t foam within 5 minutes, it’s dead. Also, check that your water wasn’t too hot—if it was uncomfortable on your wrist, it probably killed the yeast. Don’t feel bad; this happens to everyone at least once. Start over with fresh yeast.
—to “The dough feels tough and dense!” You’ve either over-kneaded (unlikely with hand-kneading unless you went for 15+ minutes) or added too much flour. Let it rest longer—30 to 40 minutes—to relax the gluten. It’ll still make good pizza, just slightly chewier than ideal.
Timing Concerns
“I can’t wait 20 minutes!” Use the dough after just 10 minutes of rest. It’ll be slightly harder to stretch and might spring back more, but it absolutely works. Use a rolling pin instead of hand-stretching to save your sanity.
distracted. “I got distracted, and it’s been resting for an hour! “ Good news—this actually improves the flavor! Dough can rest at room temperature, covered, for up to 2 hours. If it’s doubled in size, punch it down gently and use it as normal. Think of it as accidentally making artisan pizza dough.
Beginner Confidence Boosters
Your dough is good enough if it holds together when stretched (small tears are fine), doesn’t stick excessively to your hands, can be shaped into a rough circle, and feels noticeably softer than when you started.
Your dough needs more work if it falls apart when touched, is so sticky you can’t pick it up, feels the same as when you started mixing, or has visible patches of dry flour.
Emergency Fixes
The “Save This Batch” Protocol: If your dough seems beyond saving, add ½ teaspoon of baking powder, knead it in briefly, and use it immediately. You’ll get a flatter, more cracker-like crust, but it’ll still be pizza. Sometimes pizza is more important than perfection.
If you’re completely out of time, use the dough immediately after kneading, roll it thinner than normal, and pre-bake the crust for 5 minutes before adding toppings. Not ideal, but totally functional.
You Did It! Now what?
Congratulations—you’ve just made pizza dough from scratch in 30 minutes. That’s a legitimate kitchen skill that will serve you well for years to come.
For immediate use, divide your dough in half for two medium pizzas or into quarters for personal sizes. Roll or stretch to your desired thickness (thinner = crispier, thicker = chewier). Add your favorite toppings, then bake at 450°F for 12-15 minutes, until the crust is golden and the cheese is bubbly.
If you’re not using all the dough tonight, you’ve got options. It’ll stay good at room temperature for up to 2 hours if covered. In the fridge, it’ll actually improve in flavor for up to 3 days—bring it back to room temperature before using. You can even freeze portions in oiled plastic bags for up to 3 months. In the future, you will be thrilled to find pizza dough ready to go in the freezer.
Your first attempt might not be pizzeria-perfect, and that’s completely fine. Focus on getting comfortable with the technique rather than achieving perfection. Make this dough again in a few days while the process is still fresh in your memory. Each time, you’ll get faster and more confident.
Once you’ve mastered this basic dough, the pizza world opens up to you. Try adding dried herbs to the flour for an herbed crust. Experiment with different thickness levels. Graduate to hand-stretching instead of rolling. Learn to toss dough in the air (over a bed the first few times).
The important thing is that you’ve proven to yourself that homemade pizza dough isn’t some mystical art reserved for Italian grandmothers and professional bakers. It’s flour, water, yeast, and 30 minutes of your time. You’ve got this.
Now stop reading and start making pizza. Your perfectly adequate, totally achievable, absolutely delicious homemade pizza dough is just half an hour away.


Discussion about this post